Drywalls cracks are can be very frustrating. Imagine that you just been living in your house for a couple of years and you are already starting to see drywall cracks. Hiring someone to do the work for you can be very expensive. As a result, you will just have to get used to this eyesore. But did you know that you can get rid of the drywall cracks? Yes, you definitely can!
All you have to do is learn how to fix it on your own without having to pay a hefty amount for it to get fixed. These DIY repair tips are worth reading. No more need to call for a repairman because for sure, you can do this on your own. They are easier than you think. During a weekend or any spare time that you have, use it to repair your drywall cracks.
Improper installation is the number one cause of drywall cracks. But aside from that, it can also be caused by a number of reasons. This should not be taken for granted because this simple cracks can lead to many problems like weakening of the building itself, your walls can break down, and it can affect the structure too.
The MonkeySee YouTube channel posted a video of Ken Collier from The Family Handyman Magazine. He gives a step-by-step guide on how to easily fix these cracks. He makes sure that his viewers understand each process by explaining it clearly and breaks down the steps using terms that anyone can easily understand.
You can follow this easy tutorial and save your money instead of spending it on a repairman. Here’s what you need to do with your drywall cracks:
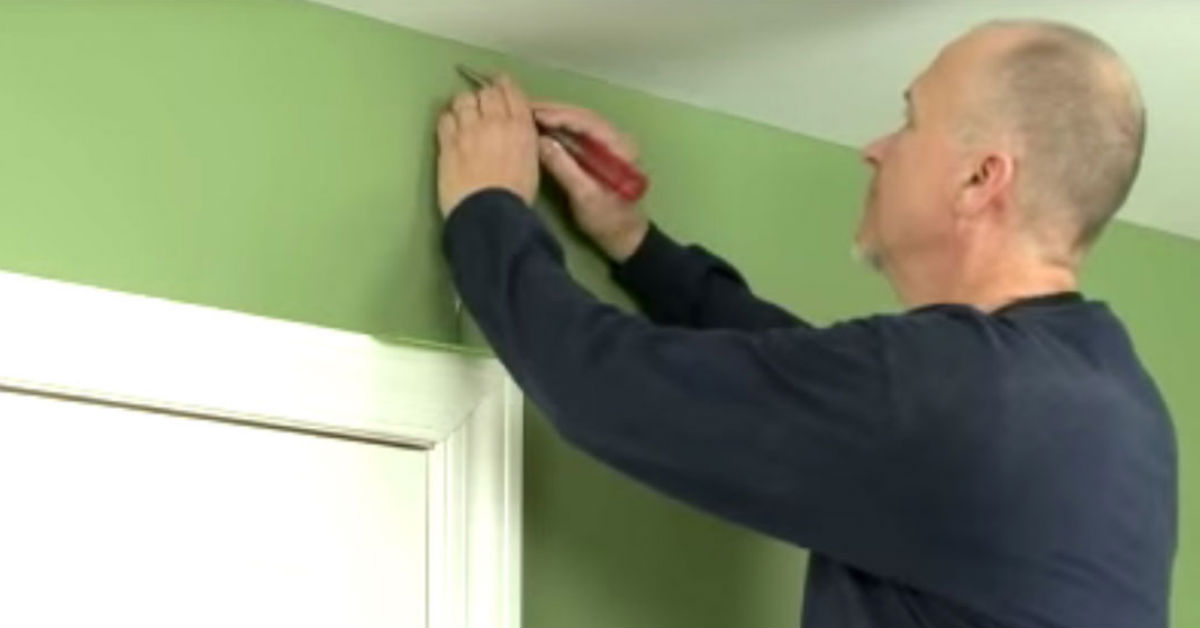
Ken Collier explains that before anything else, you first need to mask the woodwork above your door to protect it. Then using your screwdriver or knife, you can start opening the crack a bit. Once you have done that, clean the crack and remove any dust around the area using a brush, a vacuum cleaner, or even a damp cloth will do. Once it’s clean, apply a self-adhesive fiberglass mesh tape to reinforce the joint and to prevent future cracks.
If the tape is in place, scrape any bumps then start applying a thin coat of drywall joint compound. Make sure that you are able to fill the cracks as well as the cavities in the area that you taped. Once the first coat is dry, scrape off any bumps and ridges before you start applying the second coat of the joint compound.
When the second coat is dry, you can then apply a third and final coat. Feather it away from the joint so that your patches will not be noticeable. Once your final coat is dry enough, scrape and sand it. Remove any ridges and bumps before applying the primer. To avoid flashing, you should prime first before you repaint over the patch. But make sure that the primer is dry before you start repainting.
Easy right? All you need are materials that you can easily find in a hardware store. No more need for a repairman if these simple cracks can be fixed on your own. Watch the tutorial video again if you get confused. In fact, you can play it while you do the repair to make sure that you are following the right steps.
